Print Routes
You can print your routes directly from the dashboard. When printing your routes, you have the option to display directions, student IDs, direction icons, and more. Here's how:
- From the main page of the dashboard, find the Route Management section. There click on Print Routes.
- Click in the Route Name field and select which route you would like to print.
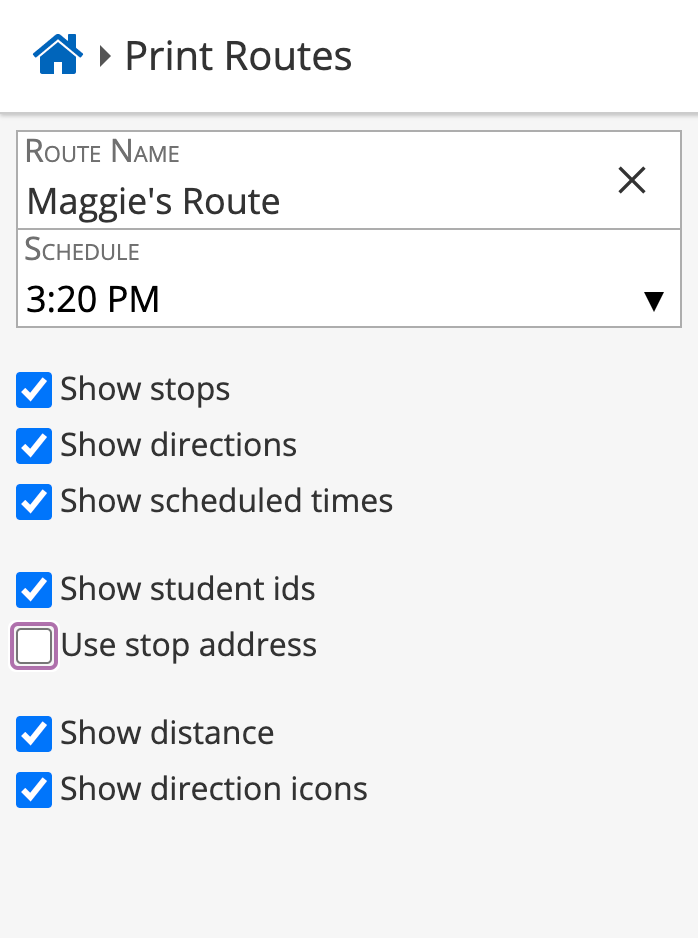
- Chose which features you would like printed from the checkboxes on the left (see screenshot). When marking these checkboxes, you will see the print preview on the right change according to the checked boxes.
- Press the Print icon, found near the top right corner of the page. Your web browser's print preview control will open. Review the preview, and if it is to your linking, print it.
One thing the above instructions do not do is print a map of the route. To do that, see Print a Route Map.
Related Articles
Routes
The Routes page, found in the Route Management section of the dashboard, shows all of your routes. Upon first opening, you will see a list of your routes: The Routes page Here you can add a new route. If you select an existing route, you can see ...Live Video
The Live Video tile is found in the Audio/Video section. Select which bus you would like to access by opening the drop-down menu in the upper left-hand corner. Any bus which is online will show up. If the bus you want is offline, you will need to ...Seating Charts
Seating charts are created in the dashboard, and are viewable and editable in both the dashboard and by drivers on the copilot. Creating seating charts with Transportant saves time and adjusts to route changes. The set-up time takes just minutes and ...Route Runs
The Route Runs section will allow you to view previous routes that have been completed by your fleet. Clicking a line will expand the information for that route and display it on a map. To learn how to edit stops, see our article on editing stops.App Usage
The App Usage page is found on the dashboard's main page in the Bus Compass section. This page helps you understand how and when students and parents use the Bus Compass app. Views The App Usage page has six views to help you drill down to the ...