Add a New User
Under the “Administrative Tools” section on the dashboard, click the “Users” tile. 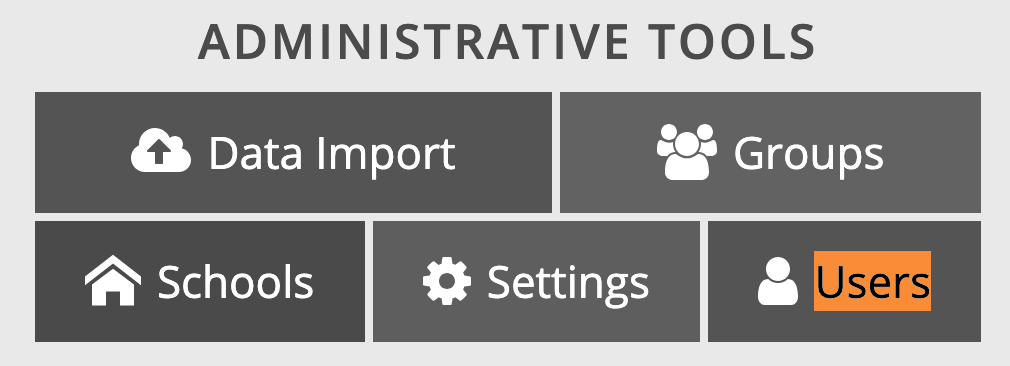
The Users page will open. Near the top right corner of the page, find the User Actions button. Click on it, which opens a context menu.
In the context menu, select Add a new user. A panel will open on the right side of your screen, which is where you will enter the new user's information:
- Name (required)
- Email address (required)
- Phone number (optional)
- Organization: Your school system's name (required)
- Role: Choose from the available options the most appropriate role, e.g. driver, staff, etc. (required)
- Bus pass: Driver bus pass or fob number (optional)
- Receive tips: Check if you would like the new user to periodically receive usage tips via email (recommended)
- Group name: Choose from the available groups in the available selections, e.g. admin, dispatch (required)
Click on the Save Changes button in the top right corner to add the user.
Click again on the User Actions button. In the context menu, select “Queue welcome email”.
The new user will receive a welcome email. He or she should follow the instructions in the welcome email to access the Transportant dashboard.
We encourage school systems to add this procedure to their new employee onboarding checklist.
Need a guided walkthrough? Click here: Walkthrough
Related Articles
Add a Route
To add a route, open the Routes page in the Route Management section of the dashboard. Click the blue plus button in the upper right-hand corner: The Add Route button on the Routes page A column will open on the right side of the window: After ...Remove User Access
For compliance reasons, former users are not removed from the Transportant system. However, it is easy to deactivate a user and to mark that user as no longer having access. Here's how. How to remove access 1. Under the “Administrative Tools” section ...Add a Waypoint
If you need a route to follow a specific path between stops, you can do so by creating one or more intermediate waypoints along the desired path. To add a waypoint to a route, open the Routes page in the Route Management section of the dashboard. ...Add a Stop
To add a stop to a route, open the Routes page in the Route Management section of the dashboard. Click the desired route, which will open for editing: A route open for editing There, click on "click to edit stops". There, select the “stops” tab if it ...Editing the Map
Introduction The map data that appears in the dashboard and on your drivers' copilots comes from a service called OpenStreetMap. Real life changes too quickly for any map service to ever be entirely up to date, but one of the advantages of using ...